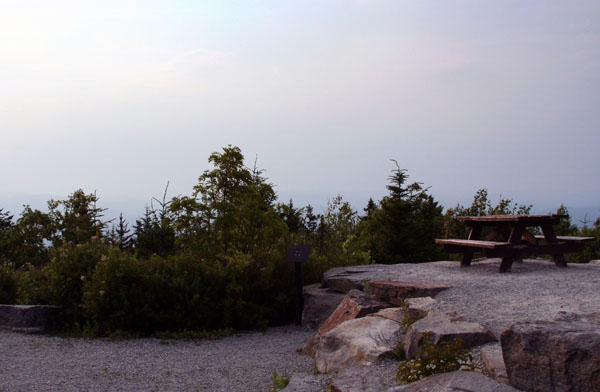
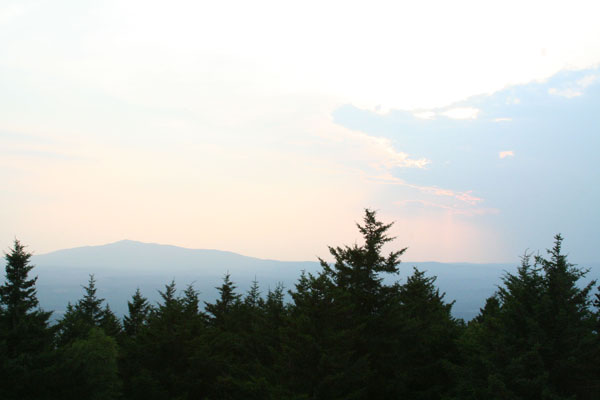
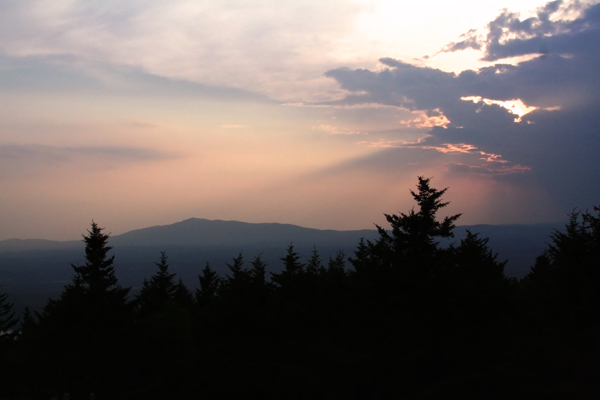
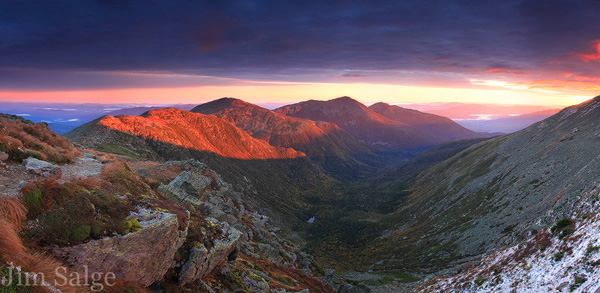
When we arrived at the summit of Pack Monadnock, the surrounding mountainscape was already tinged with the first hues of sunset. The wall of an impending storm was crossing distant peaks on its way towards us. At the end of a hot, hazy day it was an eerily beautiful scene.
I’m in Miller State Park with professional photographer Jim Salge, an expert at capturing New England scenery just like this. In last week’s post I asked Jim about his perspective of landscape, and he graciously agreed to share some of his behind-the-camera philosophy. I’m learning first hand about the approach an artist takes to exploring natural space.
And exploring was the first thing we did. Neither Jim nor I had ever been to the Pack Monadnock summit. Composing the right shot would require some familiarity with the layout of the land.
“We have the background,” Jim said, indicating our view of a Mt. Monadnock that would shortly eclipse the setting sun, “but that’s not enough. There are literally hundreds of viewpoints from which to shoot that mountain. What will make your photograph unique is the foreground.”
When Jim frames a shot he likes to give the viewer a place to be in the photograph. It’s part of the reason why his work is so enchanting – you find yourself experiencing this extraordinarily beautiful landscape as if you were sitting on that carefully placed rock in the clearing, or as if you were trekking towards it down that path. You’re not looking at the photograph, you’re in it, and that’s very powerful.
After a quick investigation of a few of the scenic outlooks it seemed there wouldn’t be an ideal location for this type of shot. But we did manage to find a view of Mt. Monadnock with an interestingly textured foreground of silhouetted trees in the fading light. I set my camera up carefully, composed the shot, checked the settings, and then pushed the button…
Yuck! Instead of a beautiful sunset my camera recorded a grayed out, monotonous haze. It was a wall I had hit all too often in the past; I could see a good photograph before me but couldn’t capture it. If I had been alone I most likely would have given up, defeated, thinking the opportunity lost. It was too hazy, I told Jim, but he wasn’t quite ready to give up.
“You have to try to see what your camera sees,” he explained. “It’s a sophisticated machine, but it’s no where near as complex as the human eye.”
After all, the camera is only capturing the light as digital information. Understanding the mechanics of this process can turn a good photograph into a great one. And I was in luck, because it could even save a shot on a really humid day. Jim adjusted some of my settings, explaining how each would effect the image. I lined up the shot again and…
The result was much closer to what I was actually seeing. If this before and after comparison inspires you, too, you’ll probably be interested in the notes on my cheat sheet:
Top 5 Takeaway Tips:
- Find your background landscape first, then choose how to frame it with the foreground. The foreground is often what makes a photograph interesting and unique.
- Create a space for your viewers to inhabit, give people a chance to be in the image.
- Frame your image carefully, check your borders to make sure nothing unsightly (power lines, cars, etc.) has infiltrated the shot. It could ruin the mood.
- Know your camera. Understand how it captures light and be able to command the settings appropriately.
- Shoot at sunrise or at sunset for soft lighting. If you’ve mastered number 4 than you’ll understand the advantage of having the sun low in the sky.
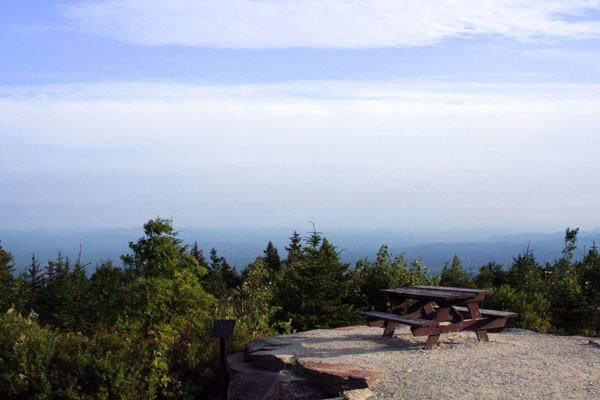
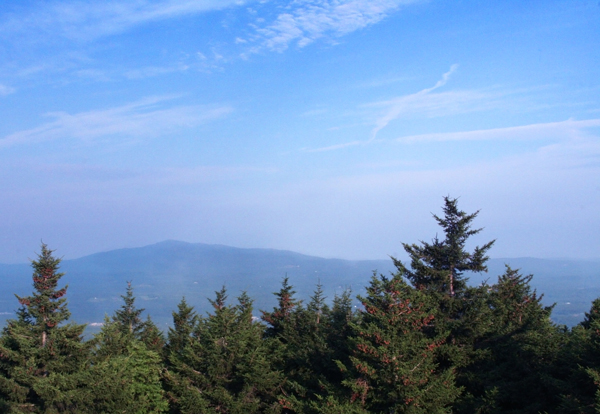
I was so inspired that I returned the following morning to try the same shots in a new light. Here’s what it looked like an hour after sunrise:
 Special thanks to Jim Salge for so graciously sharing his time and expertise with me. For more information about his work please visit his website or find him on Facebook.

